
4. Materials You’ll Need
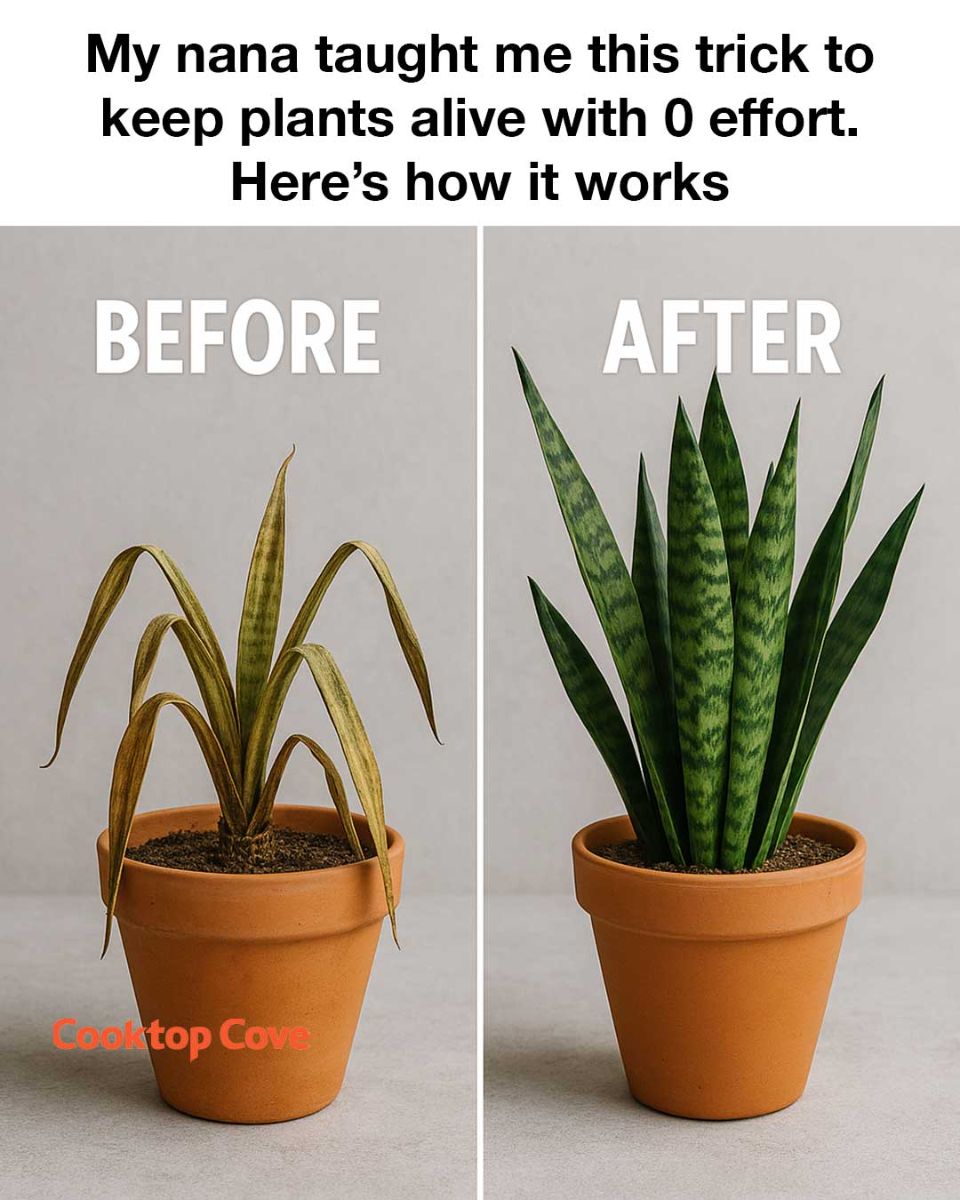
To set up nana’s trick, you’ll need a few key materials: a self-watering pot with a reservoir, high-quality potting soil, and, of course, your chosen plant. Self-watering pots are available in various sizes and materials, so choose one that suits your plant’s needs and your aesthetic preferences.
It’s also important to select a potting soil that retains moisture well but also allows for proper drainage. A mix that includes components like peat moss, perlite, or vermiculite is ideal. These materials help maintain the right balance of moisture and aeration in the soil.
5. Step-by-Step Guide to Setting It Up
1. Choose a self-watering pot that fits your plant’s size and needs. Ensure the reservoir can hold at least 1 liter of water.
2. Fill the pot with high-quality potting soil, leaving enough space for the plant’s root ball.
3. Plant your chosen plant in the soil, ensuring it’s at the same depth as it was in its original container.
4. Fill the reservoir with water, following the manufacturer’s instructions for your specific pot.
5. Place the pot in a location with appropriate light conditions for your plant.
6. Check the reservoir every couple of weeks and refill as needed. Enjoy watching your plant thrive with minimal effort!
6. How This Trick Saves Time and Energy
By using self-watering pots, you eliminate the need for daily or even weekly watering, freeing up your time for other activities. This system also reduces the risk of overwatering, which can be a common issue for busy plant owners who may forget when they last watered their plants.
Additionally, self-watering pots can help conserve water, as the reservoir system minimizes evaporation and ensures that water is used efficiently. This makes it an environmentally friendly option for plant care.
7. Common Mistakes to Avoid
next page
