
How to Use This Remedy:
Step 1: Mix Your Cleaner
In a bucket or large spray bottle, combine:
-
1 liter of warm water
-
1/2 cup white vinegar
-
1/4 cup baking soda (add slowly to avoid fizz overflow)
-
1 tablespoon dish soap
-
A few drops of essential oil (optional)
-
Stir or shake gently until well-mixed.
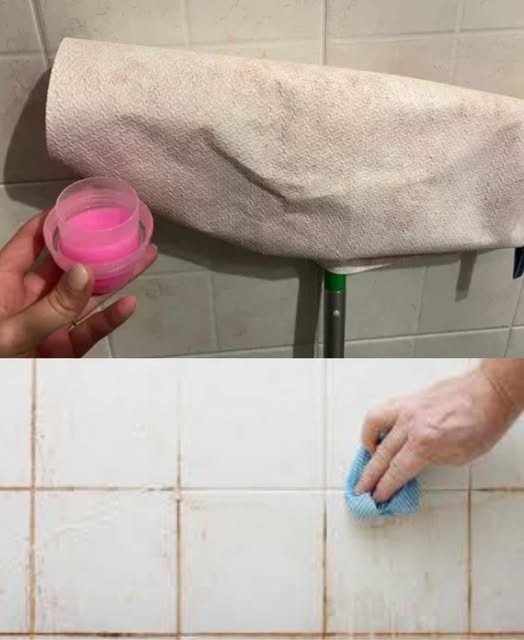
Step 2: Apply to the Tiles
-
For floors: Dip a mop or microfiber cloth into the solution and mop as usual.
-
For walls or backsplashes: Spray directly onto tiles and wipe with a sponge or soft cloth.
-
Let the mixture sit for 5–10 minutes on heavily soiled areas for better results.
Step 3: Scrub (Only If Needed)
For tough spots or grout lines, use a soft-bristle brush or an old toothbrush. The baking soda will act as a gentle abrasive without scratching your tiles.
Step 4: Rinse and Dry
-
Rinse the area with clean water to remove any leftover residue.
-
Dry with a clean towel or microfiber cloth to enhance the shine and prevent water spots.
Tile Maintenance Tips for Long-Lasting Shine:
-
Clean regularly: A quick weekly wipe with this mixture keeps tiles bright.
-
Use doormats to reduce dirt tracked in on floors.
-
Dry tiles after showers or spills to avoid buildup.
-
Avoid harsh chemical cleaners that can dull the surface over time.
-
Seal grout once or twice a year to prevent discoloration and make cleaning easier.
Bonus Tip: Polish with Vinegar and Water
For an extra boost of shine:
-
Mix equal parts vinegar and water in a spray bottle.
-
Lightly mist tiles and buff with a dry microfiber cloth for a quick refresh.
The Results: Clean, Glossy, and Fresh
This effortless home remedy removes dirt, grime, and stains while leaving tiles with a natural, streak-free shine. It’s eco-friendly, budget-friendly, and safe for homes with pets or kids.
Next time your tiles look dull, skip the store-bought sprays and try this DIY solution! Your floors, walls, and grout will thank you.
