
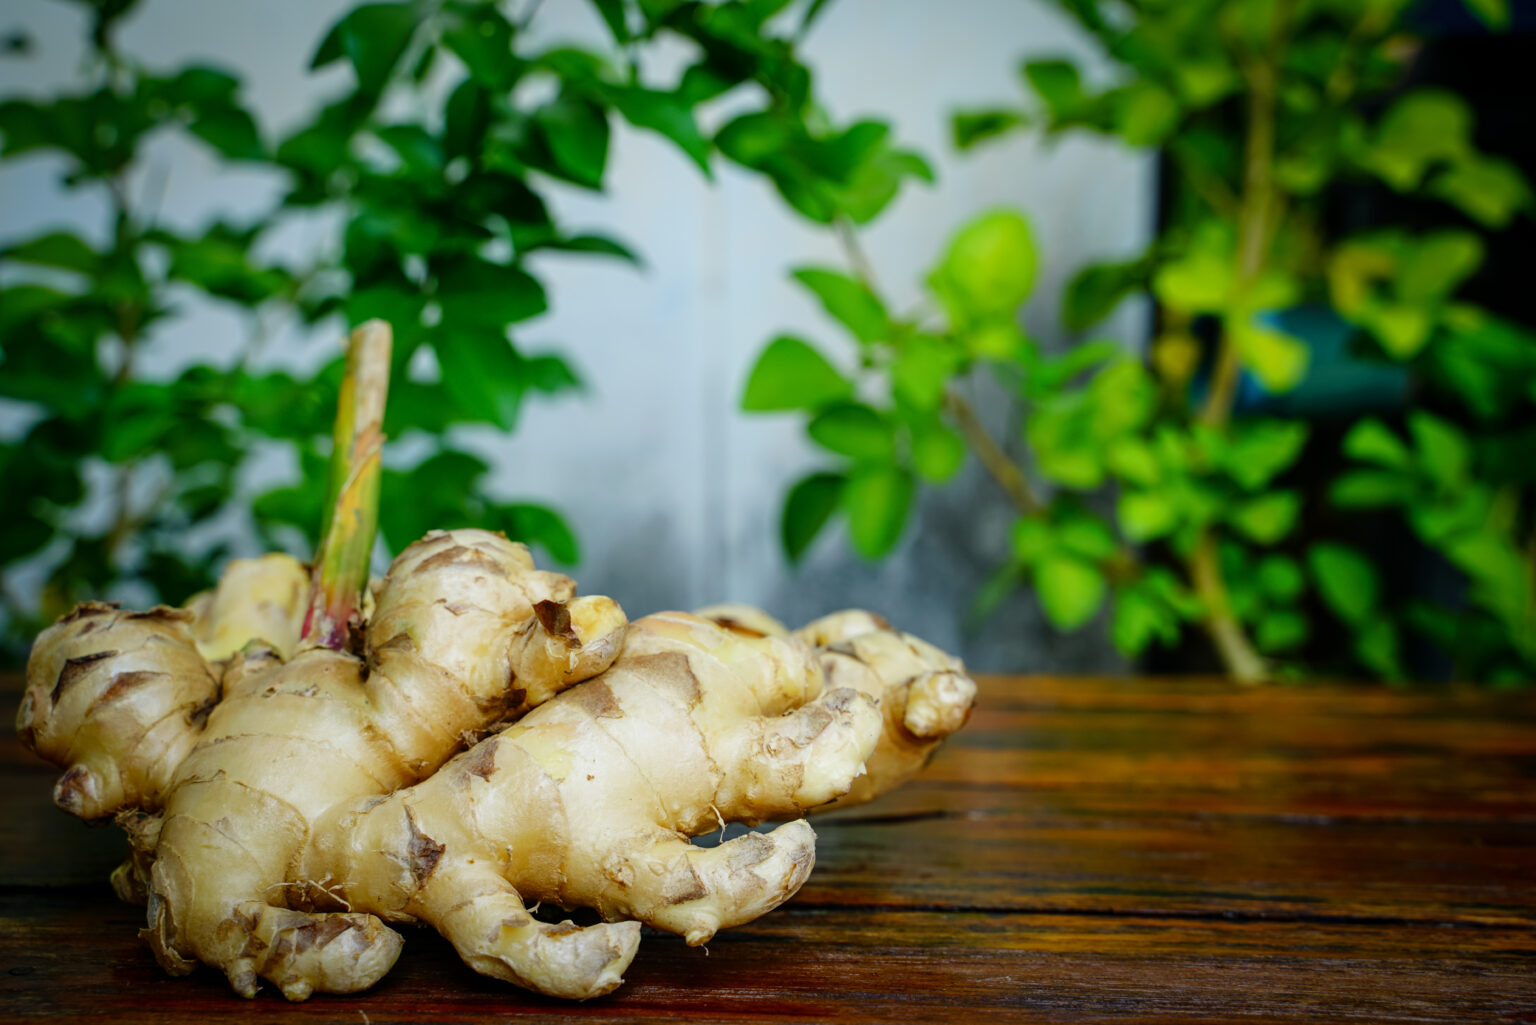
1. Choose the Right Ginger
Start with organic ginger, which is less likely to be treated with growth inhibitors. Look for pieces with prominent “eyes” or budding points—these are where shoots will emerge.
2. Rehydrate the Rhizome
Soak the ginger in room-temperature water overnight. This helps rehydrate the root and prepare it for sprouting, especially if it’s been sitting in the fridge or pantry.
3. Set Up Your Growing Container
Place the soaked ginger into a shallow container. Submerge it halfway in water, keeping the eyes facing upward and exposed to air. Avoid fully drowning the rhizome, as this can lead to rot.
4. Provide Gentle Light
Place your container in a spot that receives bright, indirect sunlight. Ginger prefers warmth but not harsh direct rays. Think east-facing windows or filtered light in a well-lit room.
5. Maintain the Water
Check the water level regularly. Change the water every 3–4 days to prevent stagnation and mold growth. Keep the ginger partially submerged at all times to encourage healthy root development.
6. Watch for Signs of Growth
In one to two weeks, you should see small roots forming below and green shoots emerging from the top. This is a sign your ginger is happy and thriving in its new environment.
7. Optional: Transplant to Soil
Once your ginger has developed a strong root system and tall shoots, you can transplant it into soil if you want larger yields. Otherwise, you can continue growing it in water as a decorative and functional plant.
Final Thoughts
Growing ginger in water is a fun, rewarding project that brings greenery into your home and fresh flavor to your meals. Whether you’re a curious gardener or a kitchen enthusiast looking for a sustainable way to grow your own food, this method is a great place to start.
